Nautical motifs always look interesting and poetically. These plays of blue and white colors remind of something fabulous, hidden far away across the sea. That is why some nice marine nail art is a cool way to make your look outstanding.
As you might have understood, today we will make nautical nails. In this tutorial, as usual, you will need some manicure stuff. Make sure you have it before you start. Notice that the list below is just a variant.
You may use any alternatives if you want to:
- Base transparent nail coat;
- White, blue and red nail laquers;
- Thin nail brush;
- White and red acrylic paints;
- Small pieces of sponge;
- Tweezers;
- Acetone and flat nail brush;
- Special tape strips for nails;
- Manicure curette (or just some toothpicks);
- Top nail coat.
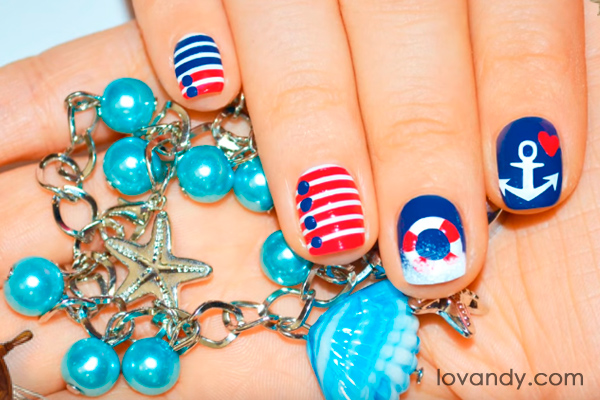
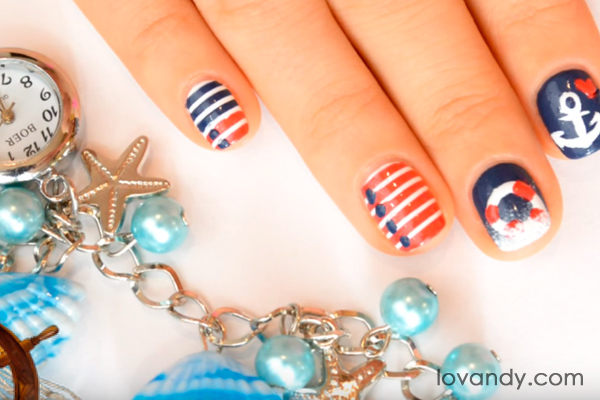
These nails look amazing, aren’t they? So as yours will! This tutorial may take some time and some instruments, but the result speaks for itself.
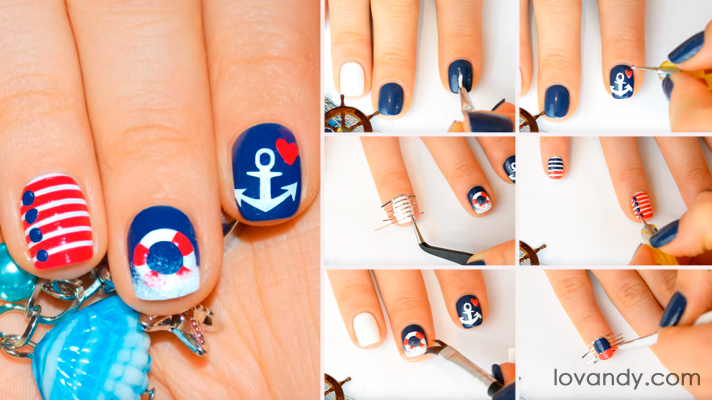
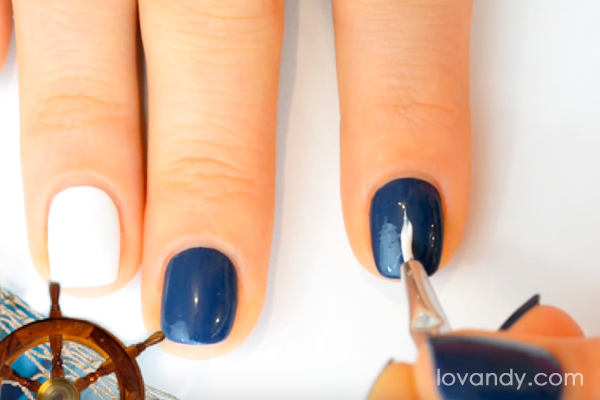
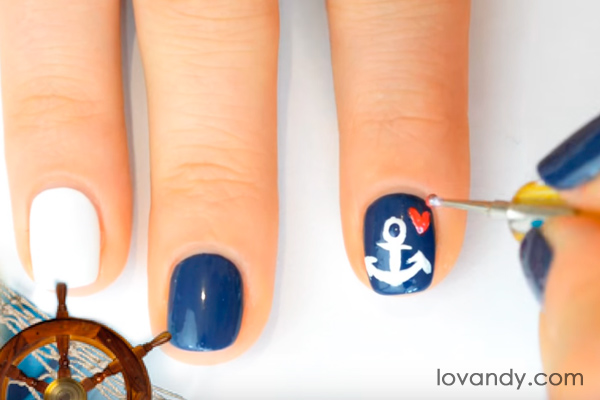
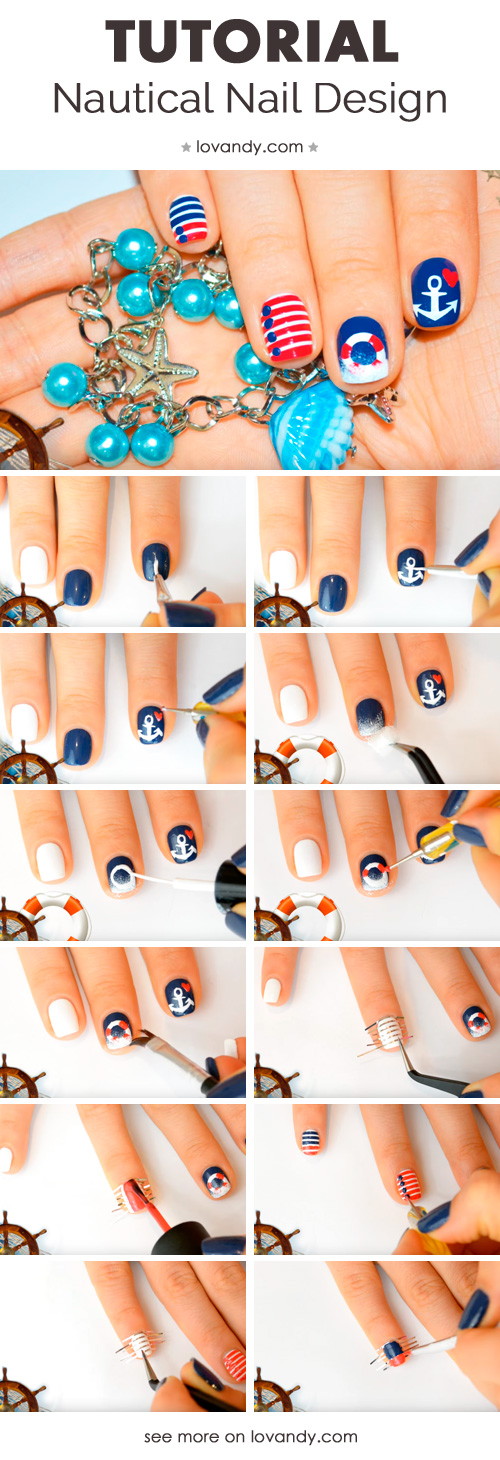
Let us begin! Cover your nails with a base transparent coat. Then put a white nail polish on some of your nails. Paint the others with a blue one.
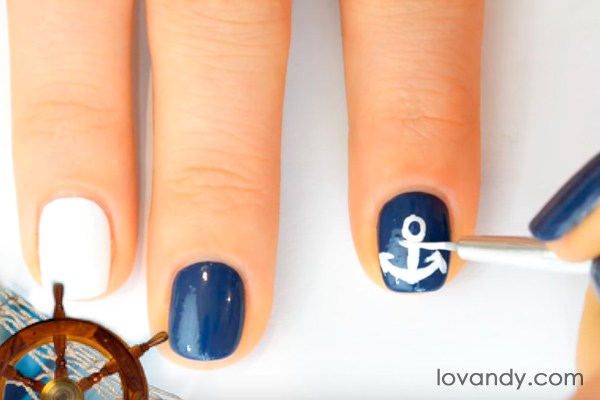
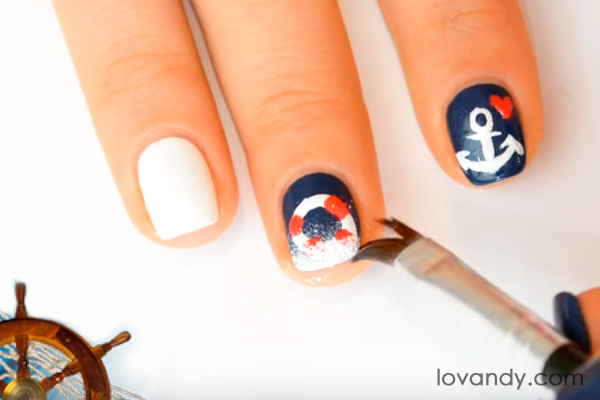
Draw an anchor, using your thin brush and white acrylic paint. Be careful and do it slowly. Also, do not overdo with the amount of paint. Take your time.
Now take the curette (or use toothpicks instead) and draw a small red heart with a red paint. If you have enough space, draw a white heart first and then cover it in red. This way the picture will look brighter.
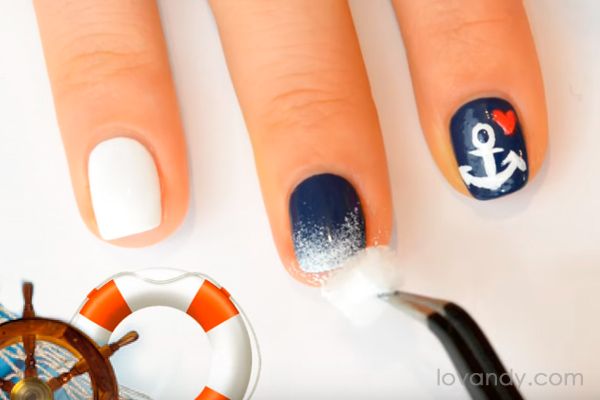
Take a small piece of sponge with your tweezers and put it into the white paint (you should pour some paint on a piece of foil before that). You can find the whole technique of painting your nails this way here. Now slightly cover the top of the nail in white, as you see it on the photo. Let your movements be neat and light on this one.
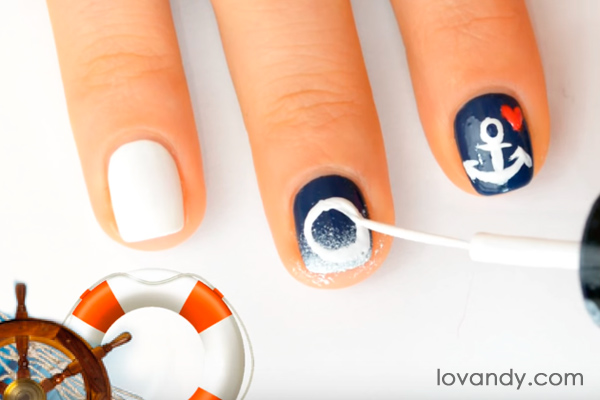
Grab your white nail polish (or acrylic paint) and draw the base circle of a lifebuoy. You may use a thin nail brush if you want.
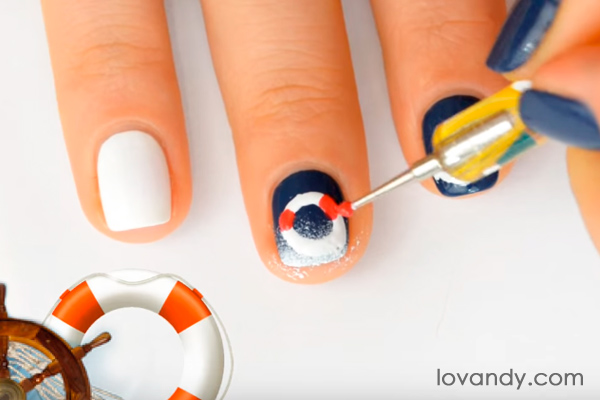
Take the curette (toothpick) again and draw some red strips with your acrylic paint. It is easier to make it if you draw a small dot first and then gradually distribute it.
Now it is a good idea to clean your skin around the nail. Just take your flat brush, put it in acetone and slightly sweep it.
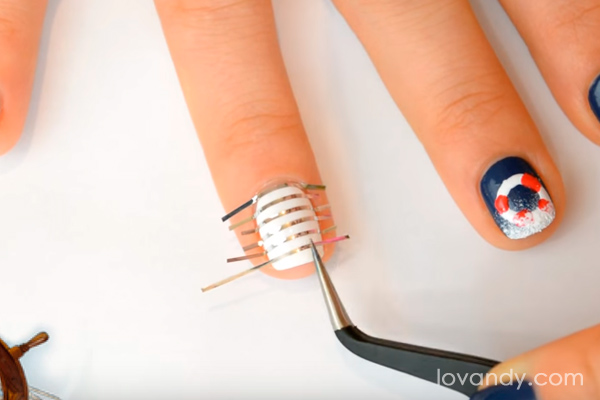
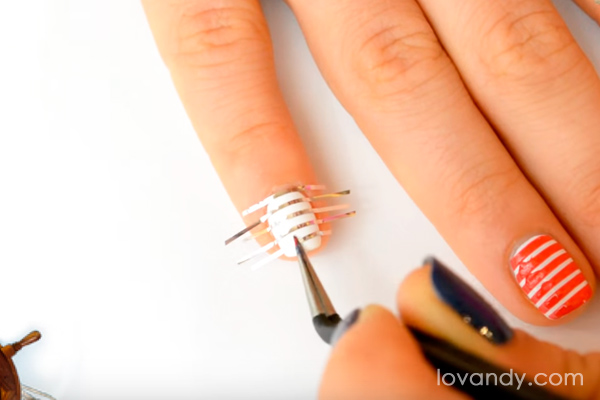
The next nail will be a stripped one. Take your tape strips for nail design with tweezers and neatly allocate them on the nail surface.
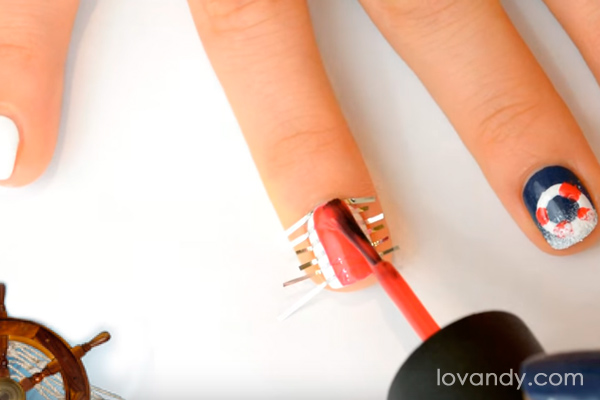
Now, as these strips are parallel, cover the nail with the red nail polish. Do not hurry up, but do it accurately.
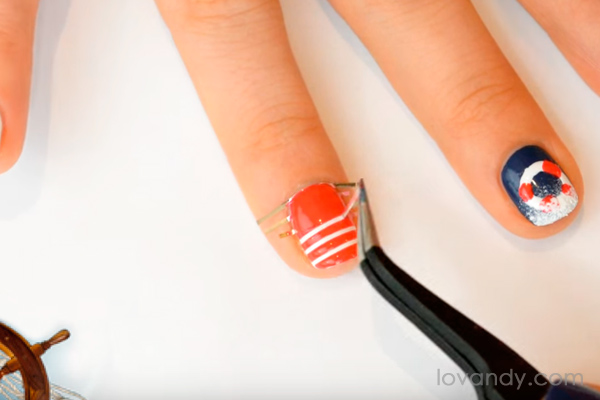
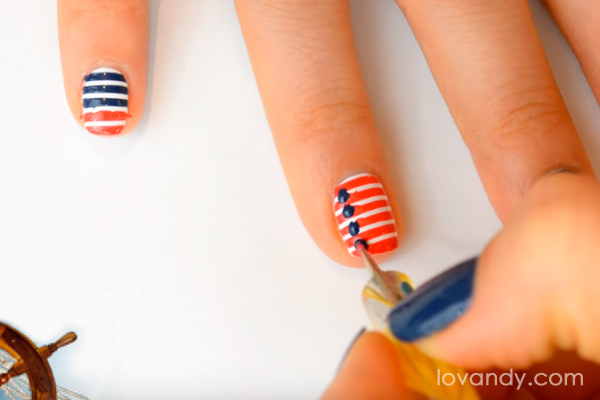
Immediately, after you have painted the nail red, remove strips with your tweezers. Once again, make it fast, but do not overdo.
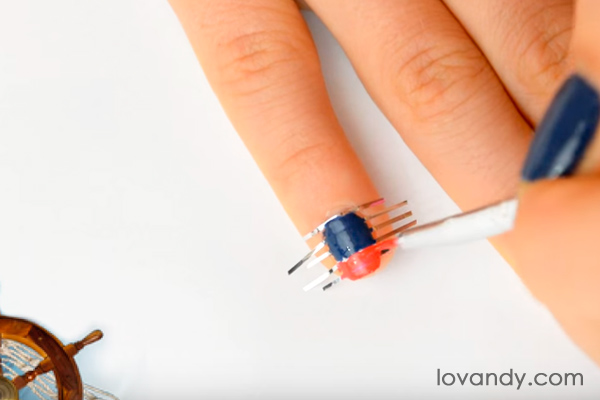
Repeat the strips sticking procedure on the second nail.
Then cover it with both red and blue polishes. The dividing line should be right on the strip. This way it will be easier not to make a mistake.
Remove the strips. Use a toothpick or a thin brush to hide any wry details with dots. You may also draw whatever your imagination tells you to.
There we go! Just put some top coat and your marine nails are ready!
This manicure is actually nice and pretty. You may use it with any type and style of clothes. Just make sure there is a smile on your face to be complement with it. The coolest thing about this nail art is that you can draw any other pictures that remind you of the sea. Try out some boats, shells etc. The overall picture will remain its beauty anyway!
How To Do Marine Nail Art With Strips And Anchors
Source of pictires: youtube.com

