The Universe has always been making us dream and ruminate. Its endless beauty is a fabulous and magnificent thing. Do you want your nails to look so? Then today we will learn how to do galaxy nails at home.
As you might know, before starting the work we should check out whether we have all the materials and equipment needed. As this manicure is one of the hardest, you do need to be precise.
Here is the checklist:
- Clear base coat polish for making the basis (for example, the one by Seche);
- Black nail polish by China Glaze which will be the background;
- White and endless blue nail polish (you may use Sinful Colors);
- Mint candy apple polish by Essie;
- Dotty top (e.g. Dance Legend);
- Any fast drying coat;
- Cosmetic sponge;
- Tweezers;
- Foil layer;
- Acetone and cotton swabs.
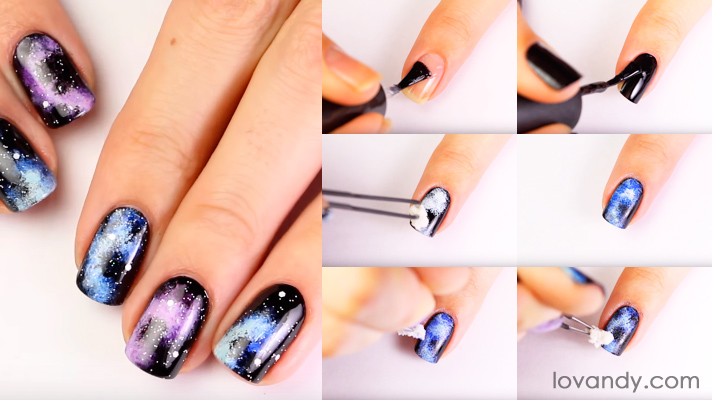
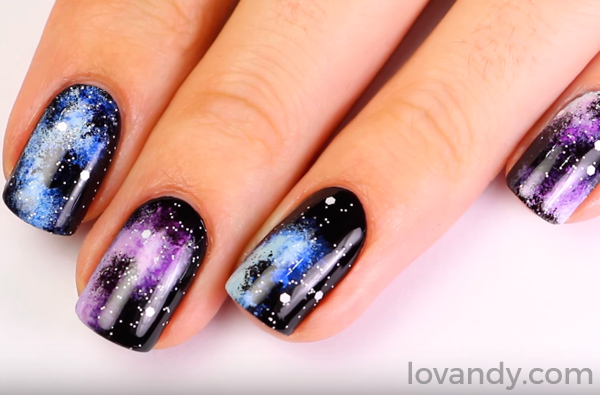
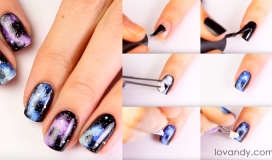
Galaxy nails art is really hard to make. It can take lots and lots of time for practicing and painting itself. So, do not be afraid of mistaking. They are the part of any work. However, as you can see it on the photo, the result is gorgeous. Perhaps, this kind of manicure is really the best one ever invented.
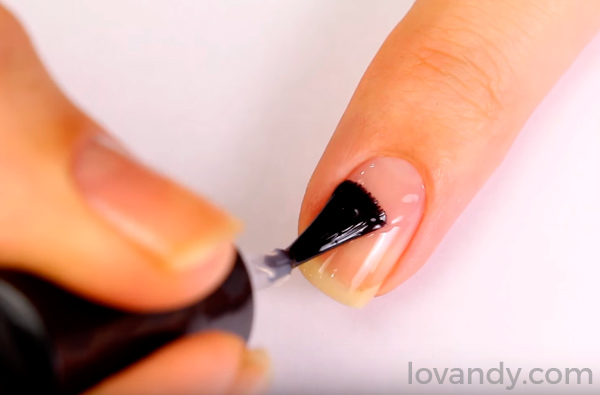
Let us begin the hard but interesting galaxy nails tutorial. Firstly, as we usually do it, take the clear base coat polish and put it on every nail. This way other polishes will stick better, and it will be easier to paint.
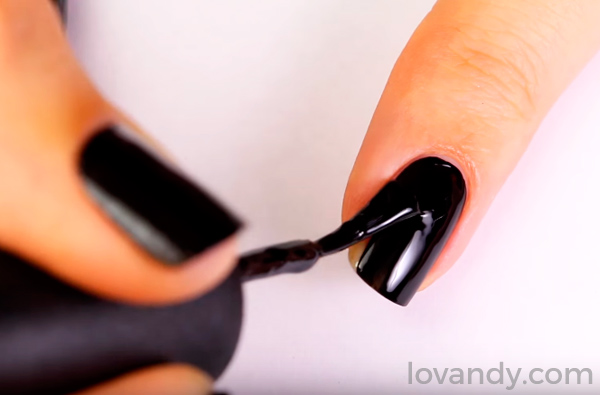
After that, using China Glaze nail polish, paint every nail black. Such background will represent the space itself.
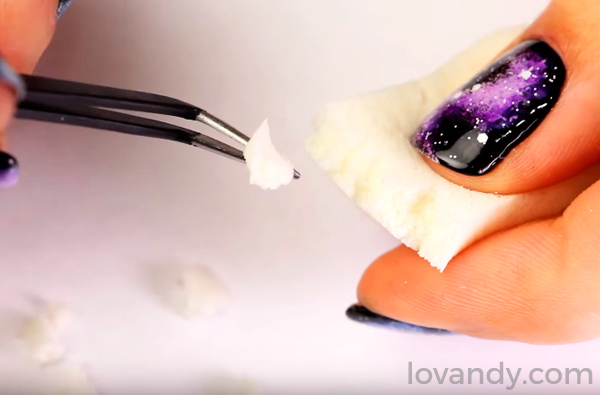
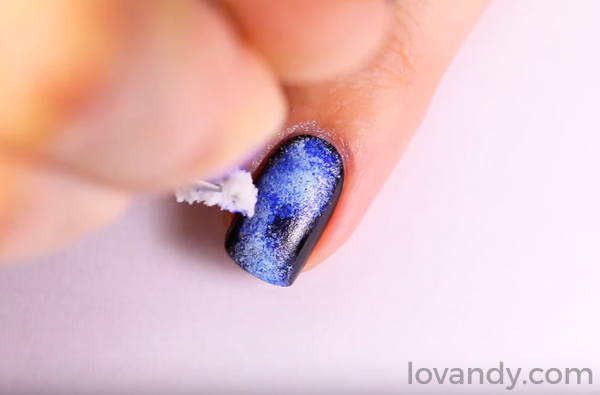
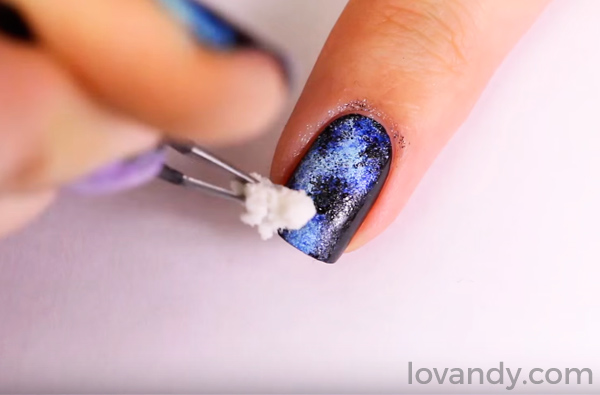
Now take the cosmetic sponge – the mandatory instrument of galaxy nails design. Using your tweezers, tear some little pieces from the sponge. Every single one of them will be used just once.
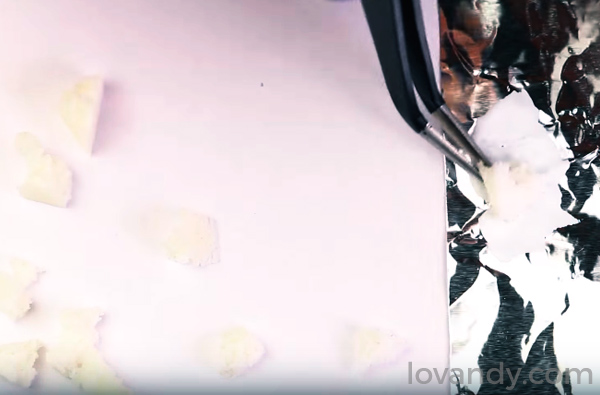
Put the foil on the table and make it flat. Now pour some white polish on it. Do not be afraid of pouring too much. Just make a nice full puddle. Take the sponge with the tweezers and moisten it with the polish.
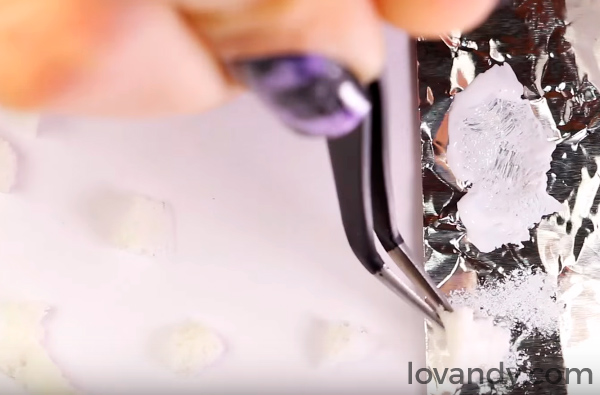
Dip your sponge on the foil to get rid of an excess polish. Do it a few times, but do not dry it all.
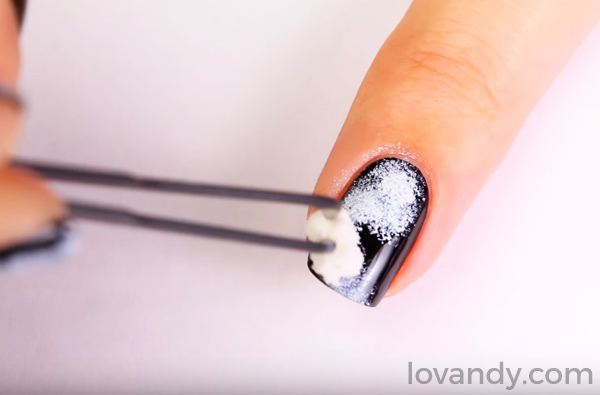
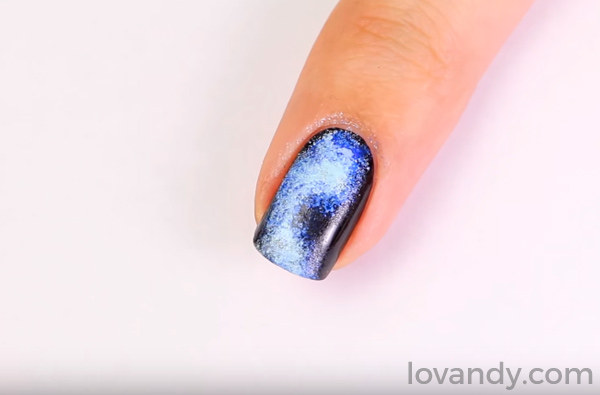
Here comes the hardest part, which makes the whole space effect nails tutorial so tough. Using the piece of sponge put some white polish on your nail by pushing it a little. The thing is not to push too hard. If you do, the nail will completely turn into white, which we do not need at all. It is better to practice on a piece of paper before making the same thing with a nail.
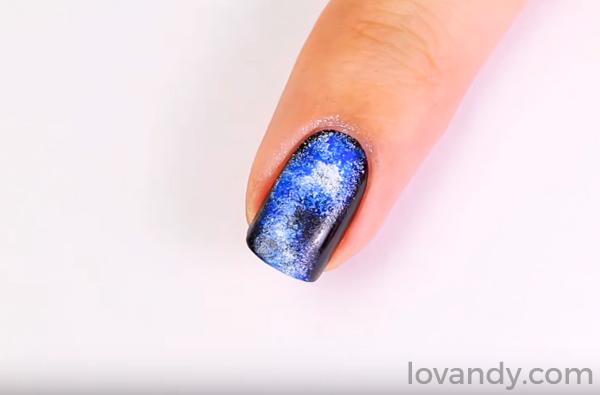
After that, repeat all these steps for the endless blue polish. Apply this polish more neatly than the first one, so that it will not cover the white color completely.
Now use the last of galaxy nails colors, called mint candy apple by Essie, to add the third color of your nebula.
Take the endless blue color with your sponge and repeat the same actions to correct the result and make the picture deeper.
Using the black nail polish, make the nebula look more real.
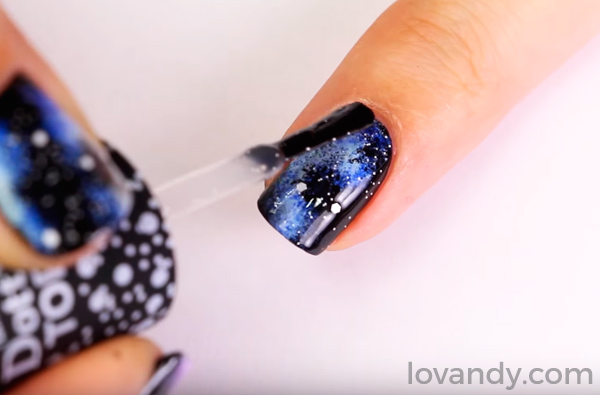
After all those polishes has dried, take your dotty top and cover every nail with it. This way, your ‘galaxy’ will glitter and shine just like the real one. After all the work is done, use some acetone and cotton swabs to clear your fingers from the excess polish.
Making other space nails step by step with some different colors may diversify the manicure and make your nails look even more off the beaten track.
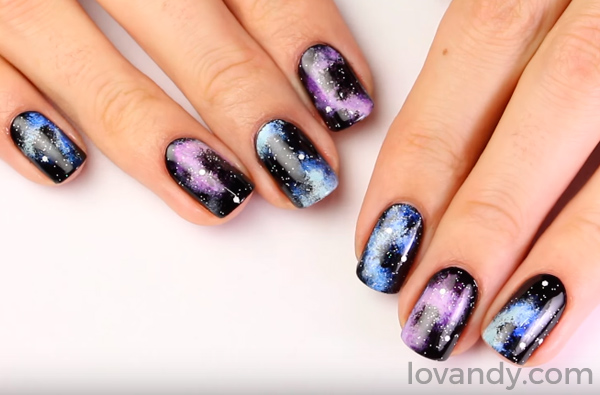
Now your manicure is finished. You may use it both for everyday walking and for celebrations.
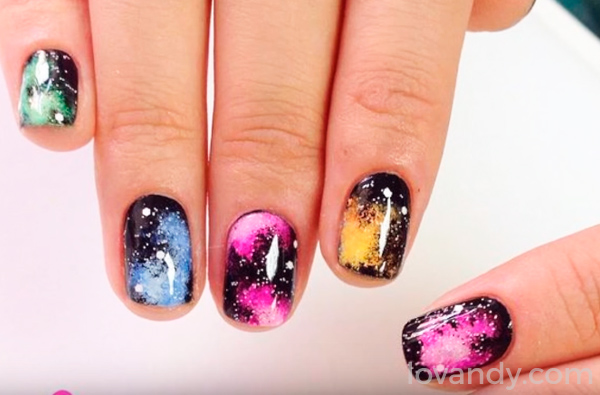
On this photo, you can see how good and interesting the manicure looks with more colors.
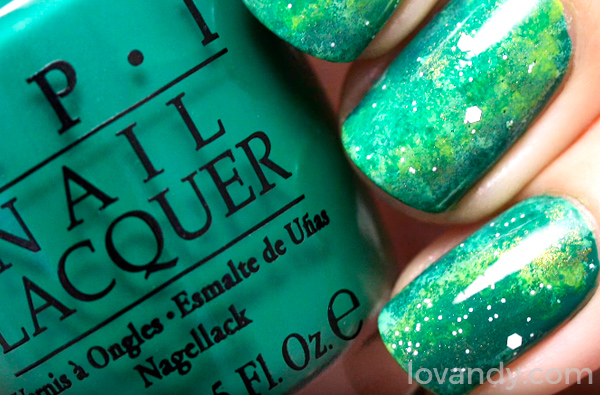
As you have learned how to make galaxy nails, try some other variants. For example, using shades of green makes this kind of manicure even more outstanding.
After all the hard work is finished, it is awesome to look on the result. You may be proud of yourself, because if you have made it this far, it means you have been through some tough operations. Nevertheless, at the end you have your manicure look really-really cool! Now making galaxy nails should be very easy for you. Congratulations!


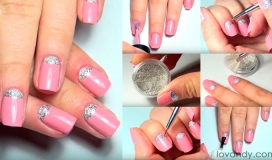

Wow! The green nail art looks stunning! I’m a big fan of galaxy nail art but my designs usually look more like black, purple and blue background with white dots.