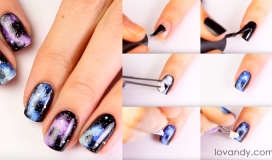
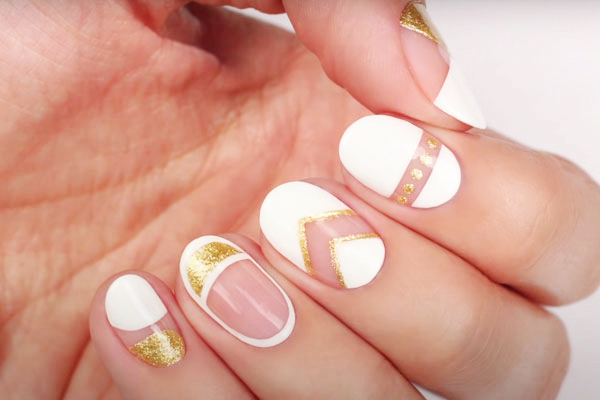
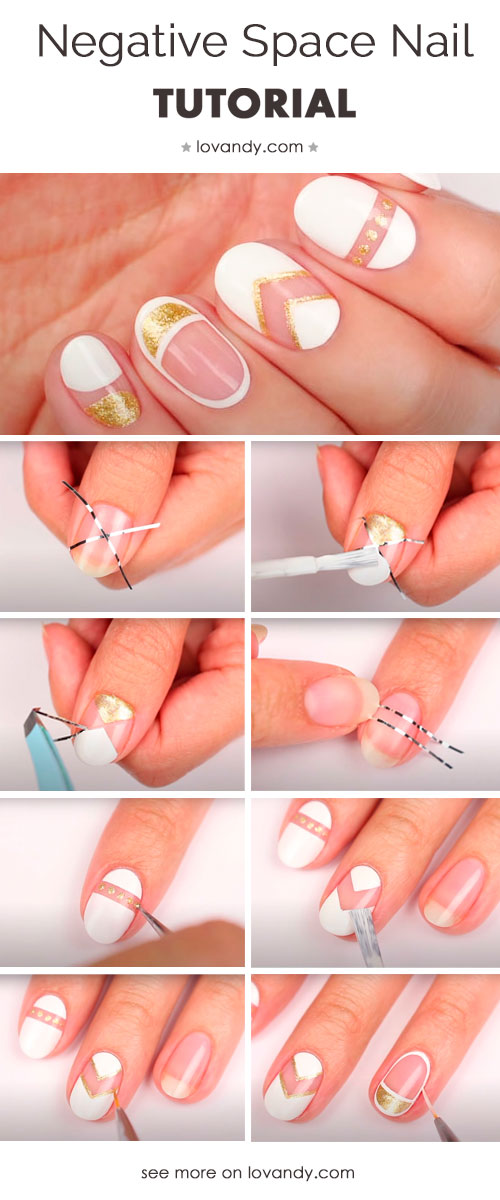
A very tender negative space nail design is an excellent choice for those who appreciate restraint and femininity without flashy tones. Here, each nail will have its own design, while we will only use two colors: white and gold with glitter. We will also need an adhesive nail design tape.
First, cover all nails with a base coat and let it dry. After that, let us start creating the negative nail art from the thumb.
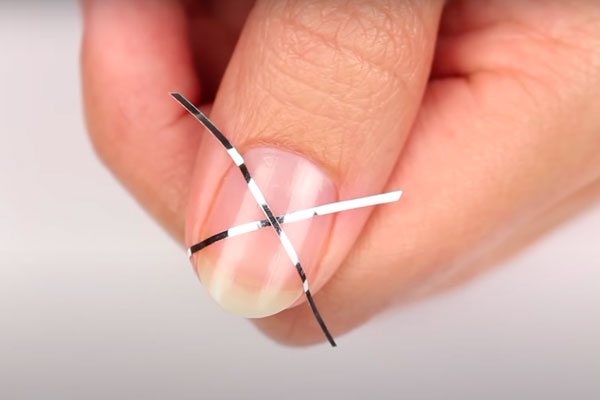
Make a cross on the nail plate using nail tape strips, thereby dividing the nail into four sectors. Cover the lower triangle with a layer of golden polish.
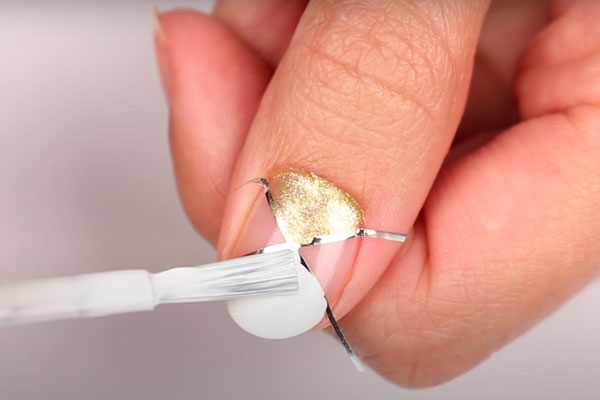
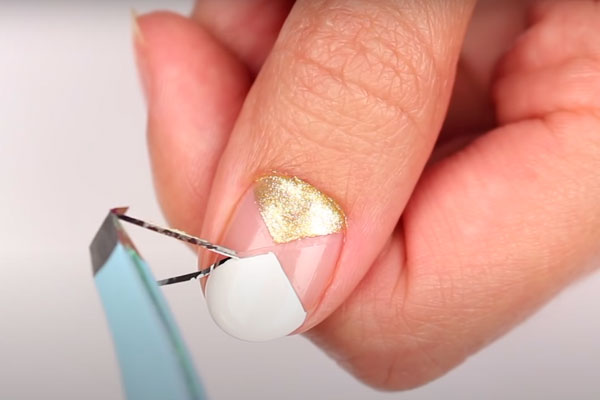
Cover the upper sector with a white polish. Dry the nail thoroughly. Carefully remove the tape strips. Leave the right and left quarters empty.
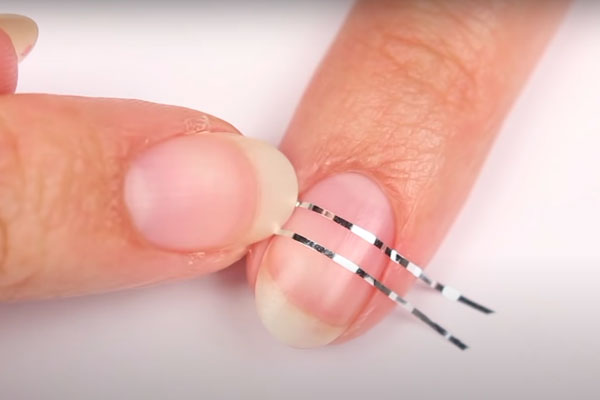
Let us start decorating the index fingernail. Glue two strips of nail design tape across the nail plate in parallel with about five millimeters between the strips. This way, the nail will be divided into three parts.
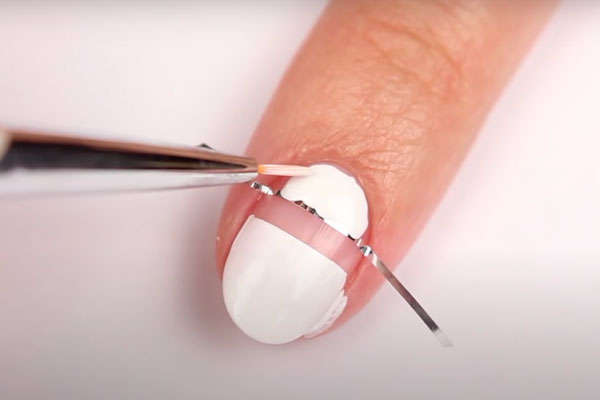
Cover the upper and lower sectors with white gel polish, using a thin brush for the corners if necessary. Leave the area between the strips empty.
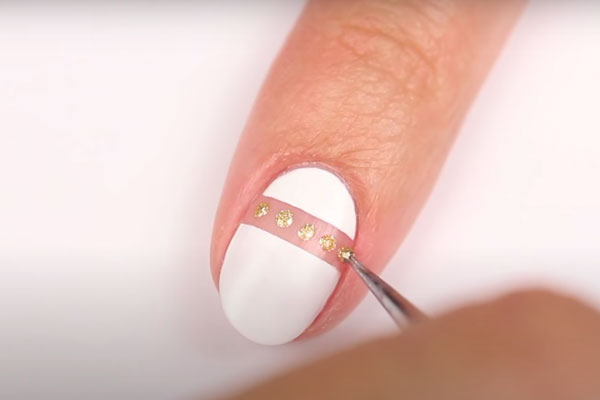
Dry the nail and remove the tape. In the center of the nail, draw small dots with golden glittered polish.
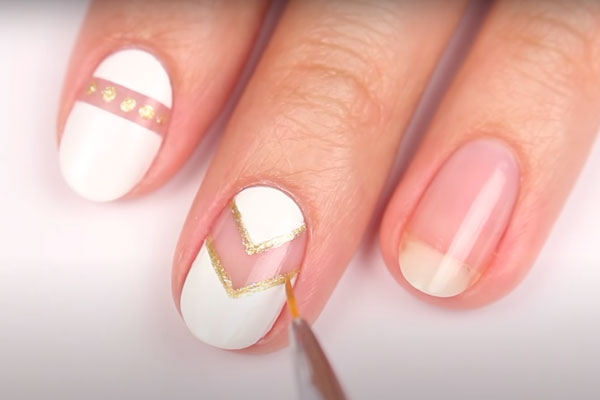
Let us start designing negative nail art on the middle finger. Using the nail design tape or without it, cover the upper part of the nail and its regrown tip with white polish forming a herringbone pattern.
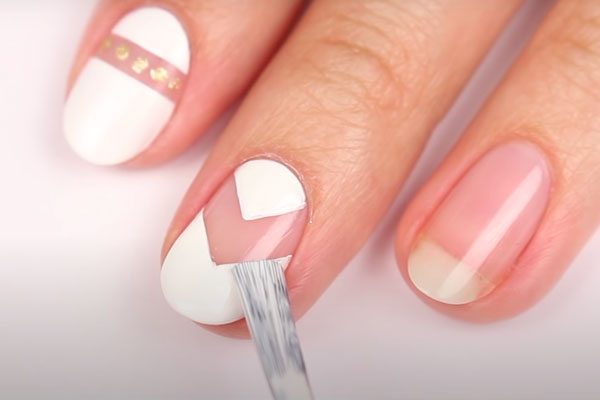
After the polish is dry, decorate the contour of the resulting inner corner with golden lines using a thin brush.
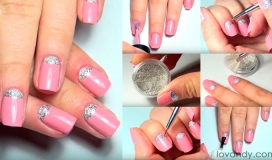
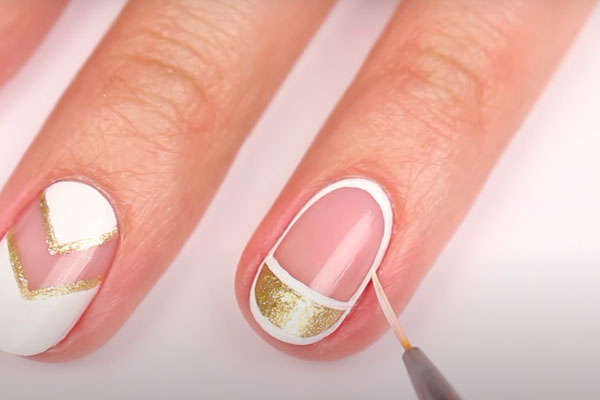
On the ring finger, paint over the overgrown part of the nail plate with golden polish and dry it.
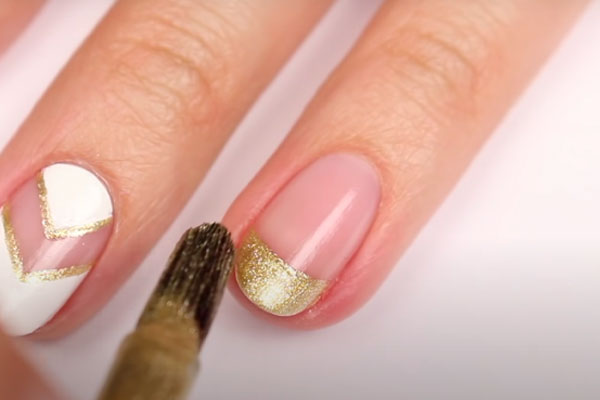
Using a thin brush, outline the oval contour of the ring fingernail in white. Draw a border line below the regrown part of the nail.
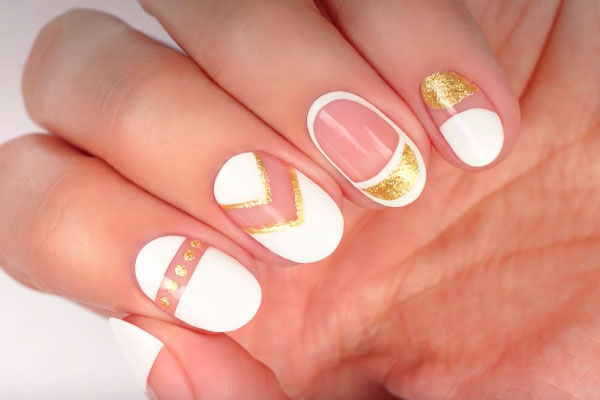
On the little finger, make two arched lines and paint over the space of the nail plate in golden and white as shown below, with a thin brush. Fix the negative space design with a glossy topcoat. That is it, the negative space manicure is ready! Such a design will emphasize an impeccable taste of its owner.
Sweet and Easy Negative Space Nails Art Step by Step
source of pictures: youtube.com