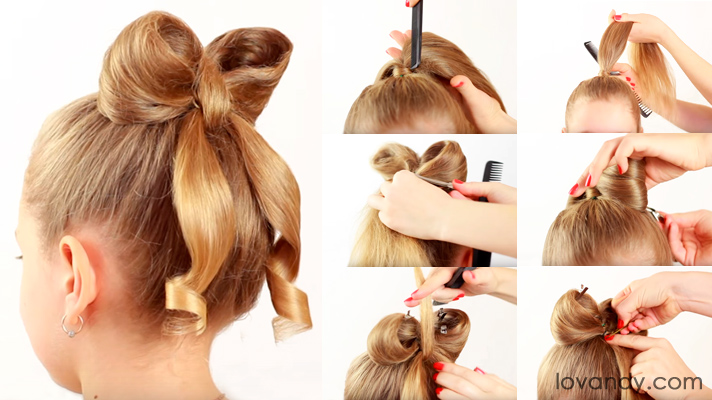
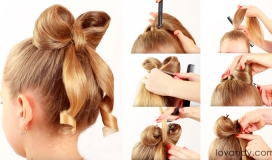
Some pretty hairstyle is always a nice way to enhance the beauty. If you want your child to look outstanding and lovely, this tutorial will tell you about one easy way of doing so.
Before we begin our bow hairstyle step by step tutorial, make sure you have all this necessary stuff. These things are not something unusual. Probably, everyone has some at home.
However, check this list anyway:
- Comb;
- Some hairgrips for fixation;
- Some scrunchies (you may use the smallest ones);
- Hair spray (a middle level of fixation should be enough, it depends on hair type);
- Hairpins;
- Hair straightener.
Basically, everything mentioned above is enough for this cute bow hairstyle. Also, it fits best for medium hair length. However, you may use the idea to make something cool with a hair of any kind.
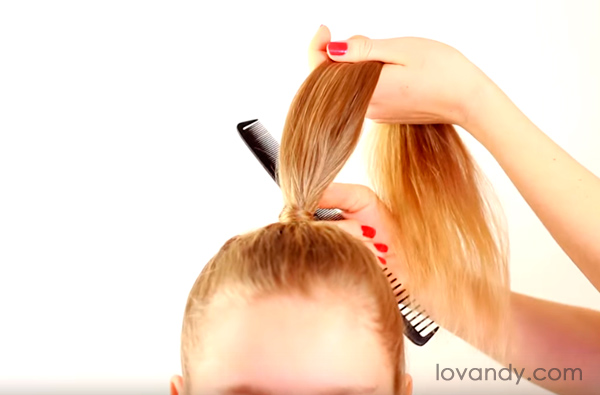
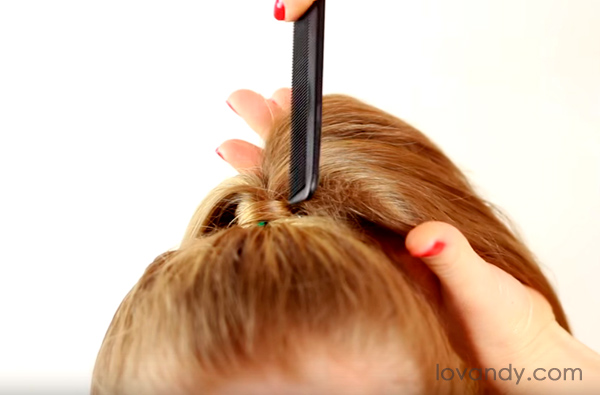
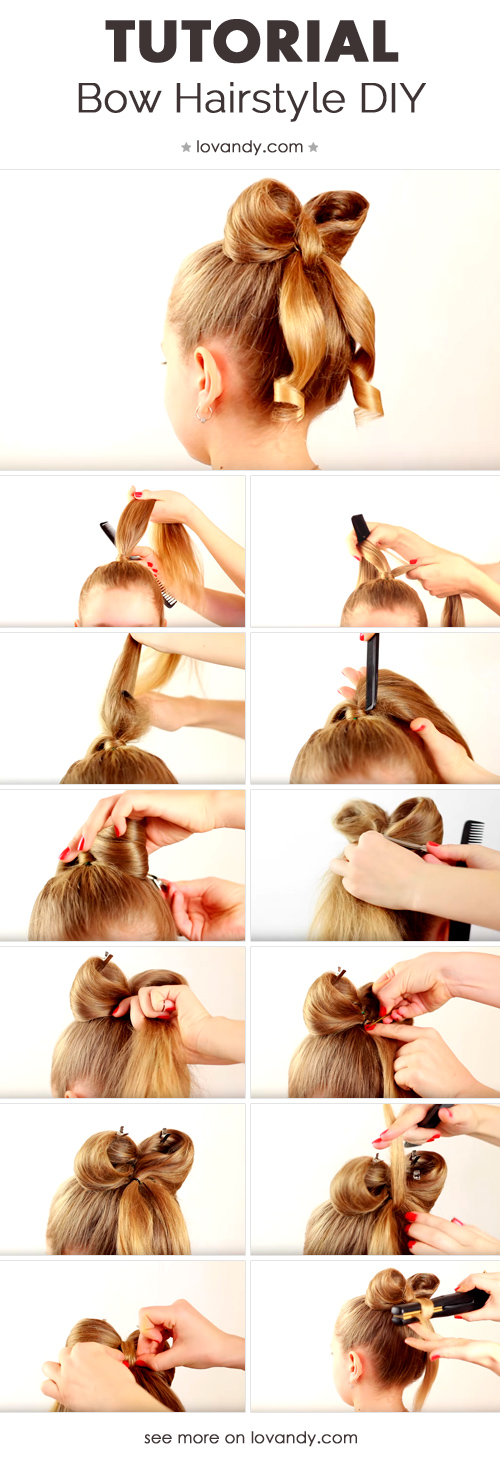
First of all, make a simple ponytail. Use a small scrunchy for fixation. To hide the scrunchy, wrap a strand of hair around it. If you do so, it does not matter what color you choose.
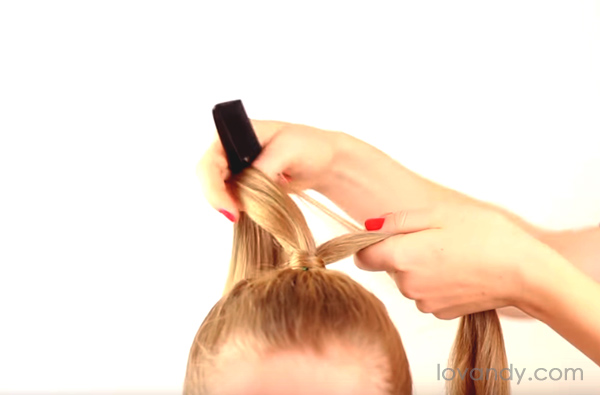
Now, accurately split the ponytail. Make both halves equal, so that this bow hairstyle for school looks neat.
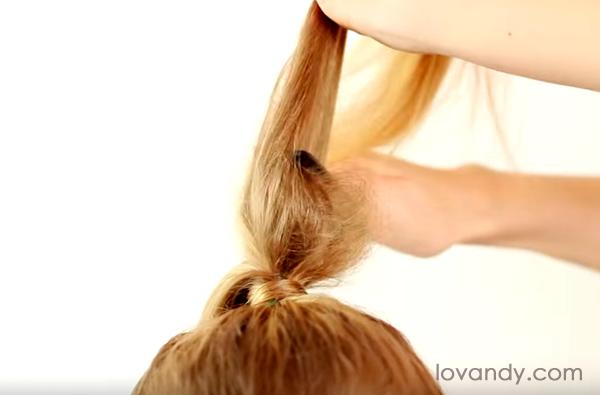
Then make some kind of bouffant with every part of the tail. You need to do this to only half of the length. Make sure it is fluffy enough.
Neatly smoothen the surface of the bouffant with your comb. Use some spray to enhance your hairstyle with hair bow.
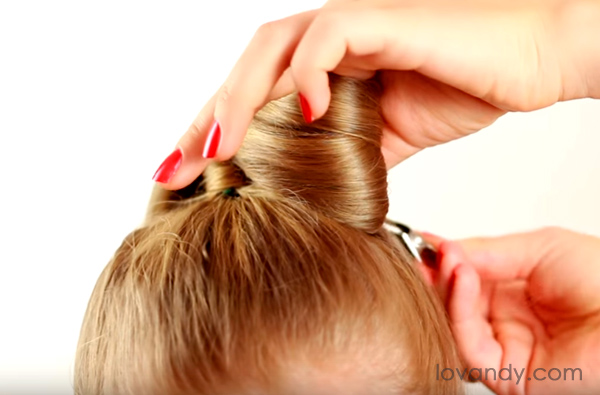
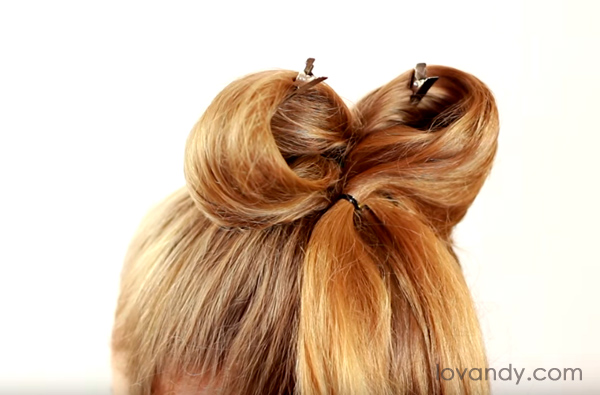
Now we will make an actual bow-knot. This step may seem difficult to you. If so, do not worry and try a few times more. The basic technique is not that hard. All you need is to be accurate and use the hairgrip in a right time. So, make a half of the bow and fixate it with a hairgrip.
Repeat all of these steps with the second half on the ponytail. It is important to make both halves look equal. Concentrate on its radius to achieve the best result of bow hairstyle for little girl.
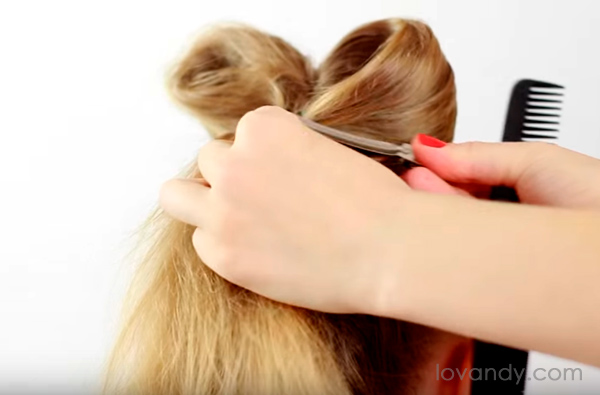
Place a temporary hairgrip on the top of the bow. Remove the hairgrips we have used before one by one after placing temporary ones. Now you can make a nice shape for each strand and get rid of any errors. When you are done, cover it with your hair spray.
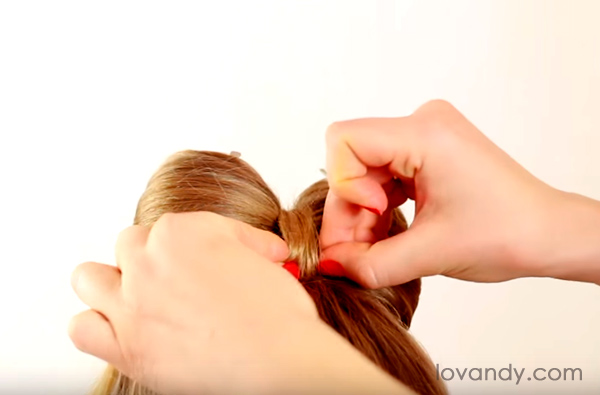
Use your small scrunchies to fixate the half of the bow with it. Just place it at the end of the half. Then use a hairpin to make it all completely immobilized.
Repeat these actions with another half of the hair bow. As you see on the photo, both halves should be as equal as possible. Depending on the type of hair, the radius may vary.
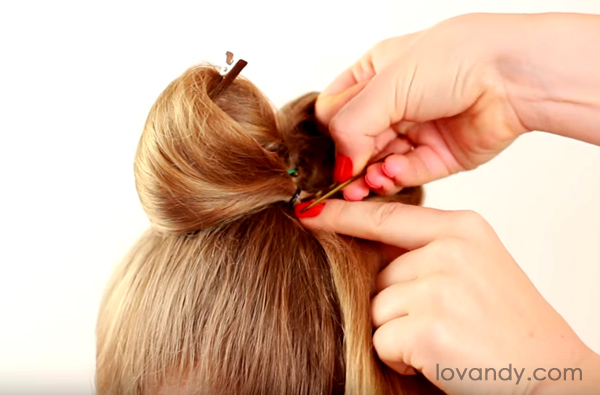
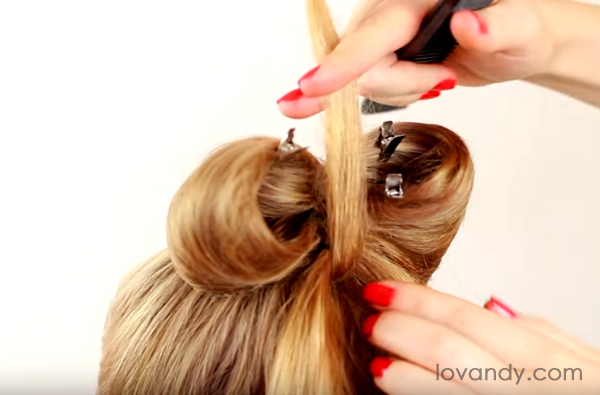
Now, take the strand from the very center. Fixate it with your hairpin in the base of the ponytail. Make a bouffant from the inside and use a small amount of hair spray on it. After all these steps are done, throw the strand over the middle of the bow.
The next step of our bow hairstyle tutorial will be to fixate this middle strand with a hairpin in the front. If your strand is too long, just accurately tuck it inside.
If halves of the bow seem weak, this means you have made a bad bouffant. However, you can fix it with some hairpins. Just place them inside the hair.
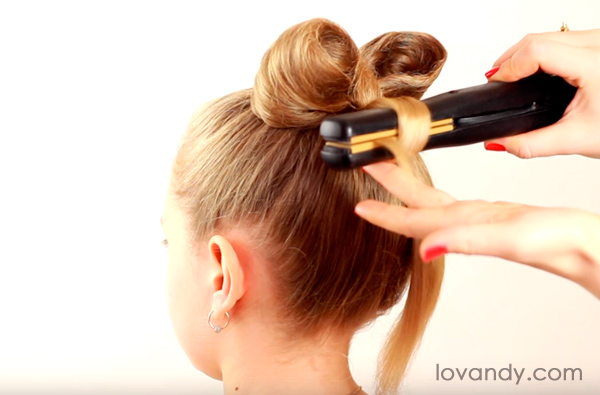
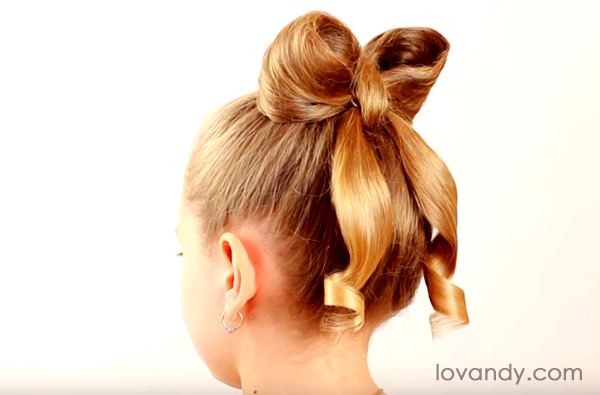
To make the bow hairstyles with curls, use your straightener and wind the hair with it. On this step, you may experiment and make it as you like.
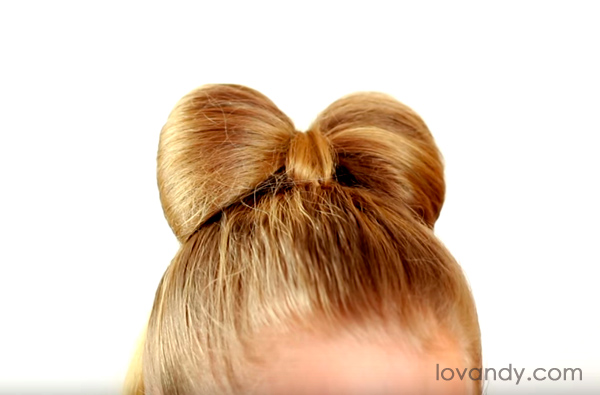
So, here is your hairstyle! As you can see now, this hair bow diy tutorial is not a hard one. However, it does take some time and accuracy. Do not worry if you cannot do it from the first time. Some practice will help.
Now you know how to make hair bow hairstyle. It may be used for some celebrations or parties. This hairstyle looks best with long dresses. Such combination makes your child look like a Disney princess. Do not hesitate to add something more or change it. Tell us about your ideas, if you have some.
Tutorial: Hair Bow Hairstyle With Long & Medium Hair
source of pictures: youtube.com

