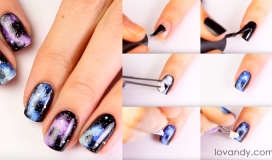
When it is Christmas, everybody wants to shine and look prettily. And nails are one of the most important components of a nice look. Therefore, today we will learn how to create some beautiful and bright holiday nail design.
To make the manicure, you will need some stuff. Feel free to change this list and add something you like more. This is just an advice.
You will need:
- Some base nail coat;
- Green nail polish for the background (you may also use red, pink or blue colors);
- Black nail polish or an acrylic paint for nails;
- Thin nail brush;
- Silver, gold or any other glitter polish;
- Top coat;
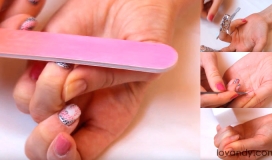
- Acetone and cotton swabs for correction.

As you see, this nail design does look beautiful. Also, it takes some patience and accuracy to acquire. Before you begin the work, try painting intricate details on a piece of paper to make sure you can do it.

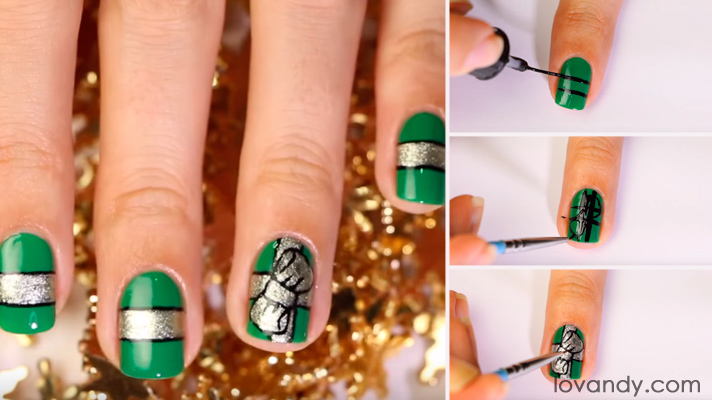
Let us begin making the manicure from putting a base coat on the nail. Then cover it with two layers of your background color. We use green, as it reminds us of Christmas tree.

Draw a ribbon with some black polish or paint. Use your thin nail brush. These two lines should be neatly parallel. Repeat this step for 3 to 4 nails on one hand.

Now grab your glitter nail polish and fill the space between two lines. Make sure you do not cover lines themselves. If you accidentally do it, just wait until the glitter polish dries and touch up the black.

On the rest of your nails (1-2 on one hand), you need to draw a ribbon with a bow. We advise you to paint some kind of hashtag and then the bow itself.

Now use the glitter polish to fill the space of the ribbon. As soon as it has dried, draw more details with a black polish to finish the picture. Once again, do not worry if something goes wrong. You can always use acetone and cotton swabs to correct any mistake.

When you are done, cover all the nails with some top coat. You may use either glossy or matte ones.

That’s it; your Christmas manicure is ready for celebration! Needless to say, you may use some other figures and techniques to draw bows and ribbons.

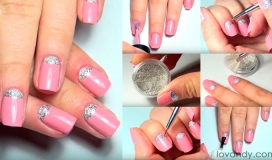
Try to experiment and create your own Christmas nail design! Use different colors and polishes to achieve the best result (the one you like most).
This manicure looks both beautiful and heartwarming. It may be a nice complement to any party or holiday, which is about to come. It would also be a good idea to combine this design with some other ones that you can find on our blog. Make it as you like, fill it with your love, and everybody out there will feel a true Christmas joy.
How To Create Christmas Holiday Nail Art Step By Step

Source of pictures: youtube.com