Mandala is a complex nail art pattern that consists of many details. Nevertheless, it is not difficult to make mandala nail design using nail stickers or stamping. But even if you are not a professional nail artist, you will be able to easily draw the famous pattern by hand by simply following the listed below instructions.
There are not much things you will need for for making the mandala nail design:
- Base nail coat;
- Base color nail polish;
- Multiple vibrant nail polish of your favorite colors;
- Dots instrument (can be replaced with a toothpick or a hairpin);
- Black nail polish (or an acrylic paint);
- Thin nail brush;
- Matte or glossy top coat.
Firstly, let’s define the color palette that will be used in the design. For the base for the mandala design, choose an even light color, for example, beige, milky, powdery. For the drawing the mandala pattern itself choose a color that contrasts with the base polish shade.
Black will look great in combination with almost any light background. By the way, it would look interesting if applying a dark background and a light contrast pattern, opposite to a traditional approach.
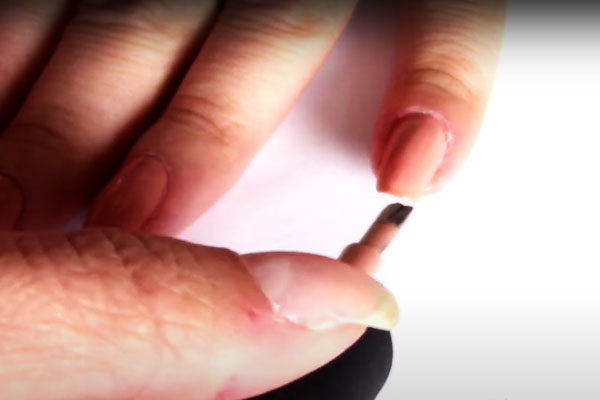
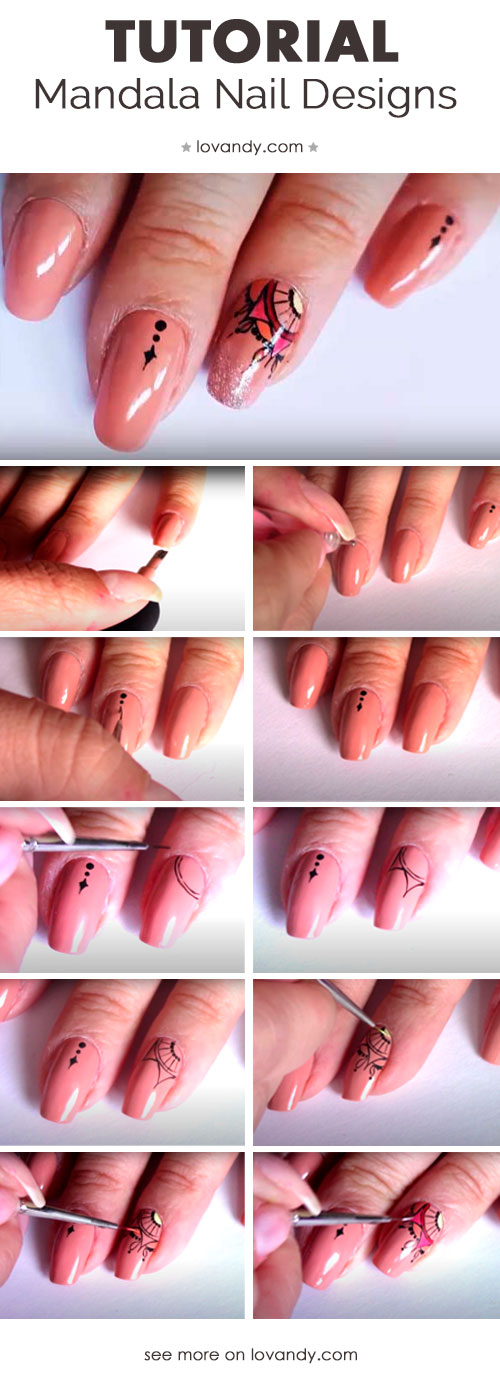
Getting started with covering the nails, apply a base nail coat and let it dry. Then, it is necessary to cover all nails with a monochromatic nail polish, dry and repeat the coating again.
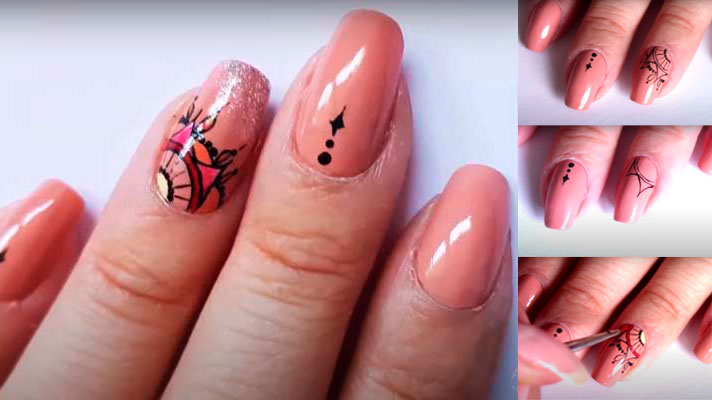
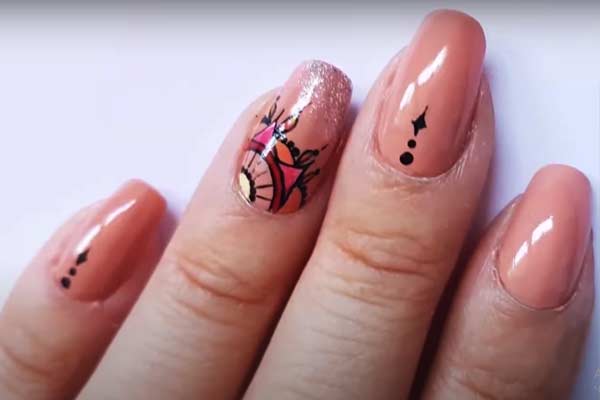
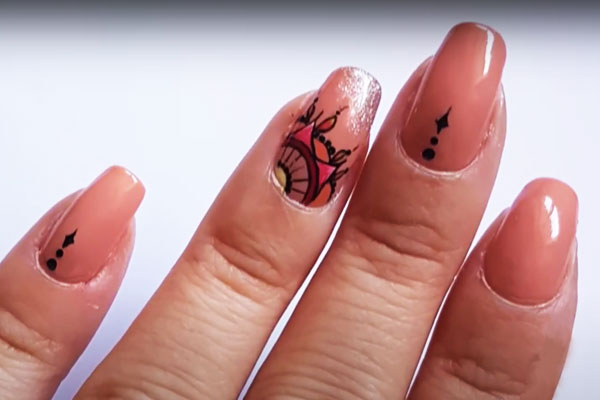
Also, although you can apply a pattern on one or several nails, it is recommended to limit the sophisticated drawing to one-two nails. We will draw the main mandala pattern on the ring finger, while adding several simple elements complementing the overall picture on the little and middle fingers.
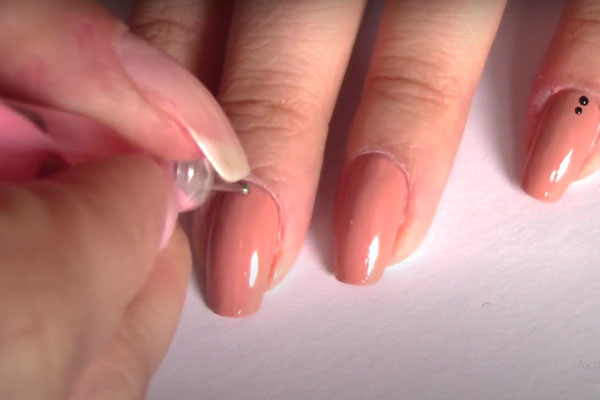
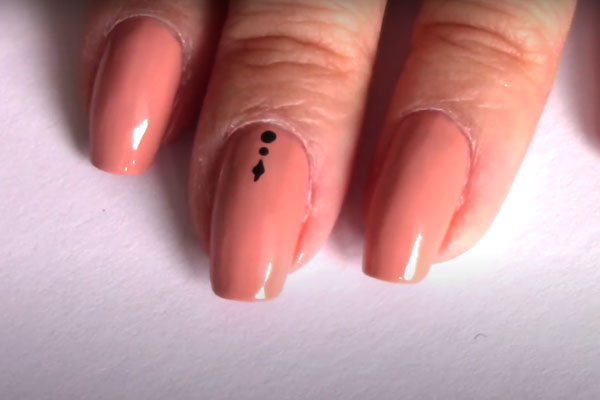
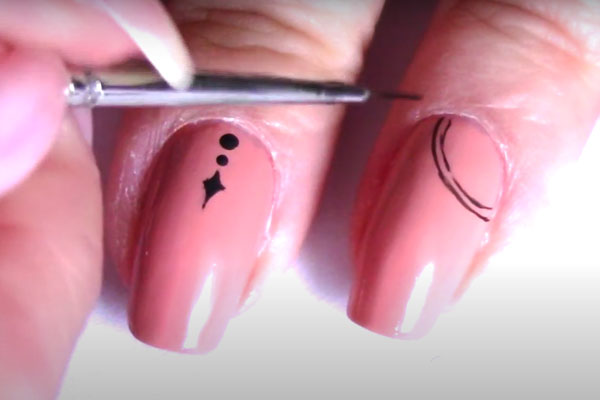
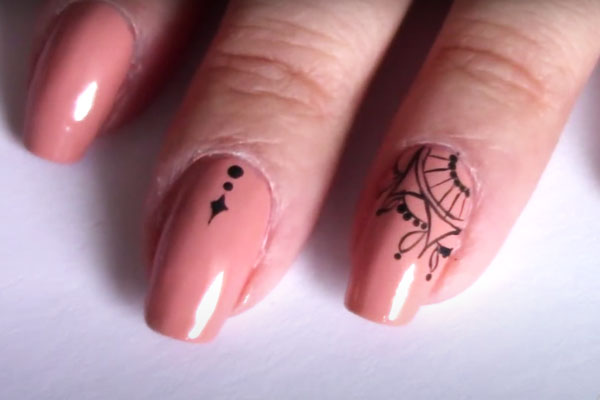
Let’s draw dots now. Using dots, a hairpin, or a toothpick, draw two black dots on the nail of the middle finger and little finger with black polish or paint. Herewith, make sure that the top dot is larger than the bottom one.
Draw also a diamond above the dots.
Let’s start creating a mandala art. There are many options of how to draw a mandala, and once you understand the technique, you will be able to experiment with it and find the way that suits you most.
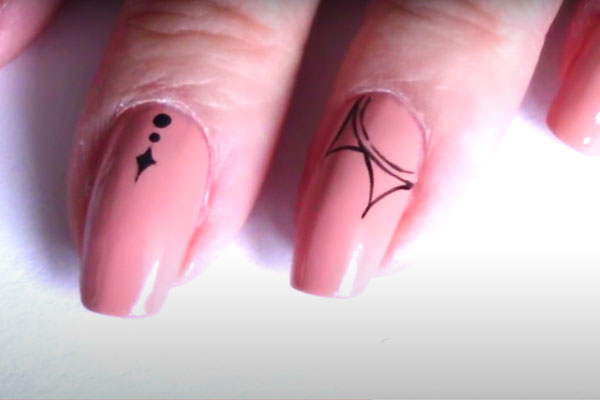
Now, let’s get started with drawing the mandala on the ring finger. Try to not rush and be consistent in drawing mandala fragments. Draw two thin semicircles, one next to another, in one of the lower corners of the nail with a thin nail art brush.
Then add a couple of pointed petals above.
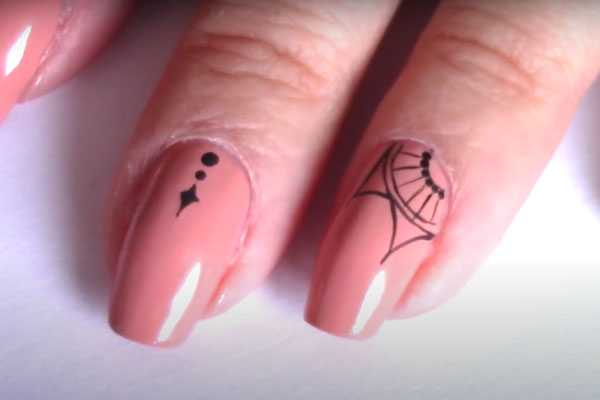
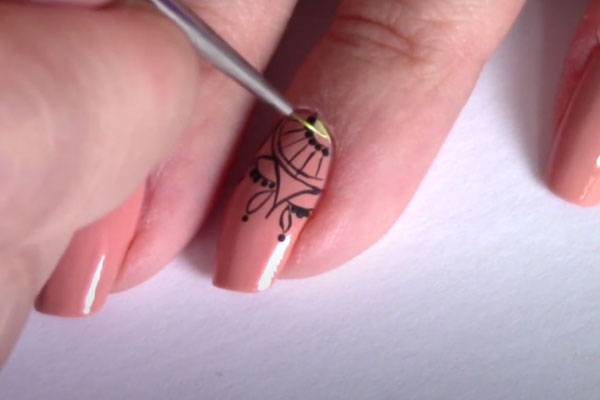
One of the main elements of the mandala art pattern is rays. Let’s draw several small dots forming a small semicircle below the semicircles closer to the root of the nail using a dots or toothpick. Then continue working with a thin brush executing rays by connecting the black dots with the semicircles.
Add to your masterpiece various small elements, monograms, petals. Correctly selected shades will add sophistication and zest to the manicure.
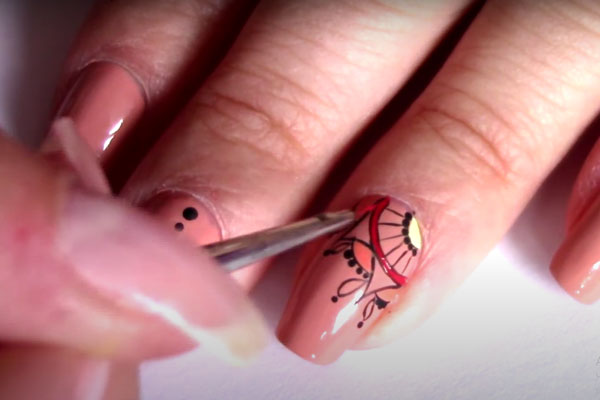
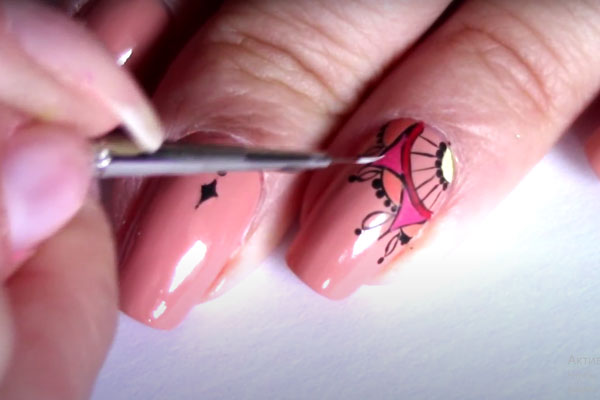
Then fill some of the elements with color. It is worth giving preference to polishes in contrasting colors. Choose bright and rich colors.
Coloring subsequently element by element, you will notice how the pattern is transformed.
When coloring the same elements, it is better to stick to the same concept. For example, if you chose pink petals, then let them all be pink.
After the mandala is ready, do not forget about the top coat. It will add extra shine to the original pattern and increase the wearing time of the manicure.
Let the nails dry completely. So, an unforgettable manicure with mandala patterns is done!
Enjoy!
Sweet And Easy Mandala Nail Art Step By Step
source of pictures: youtube.com

