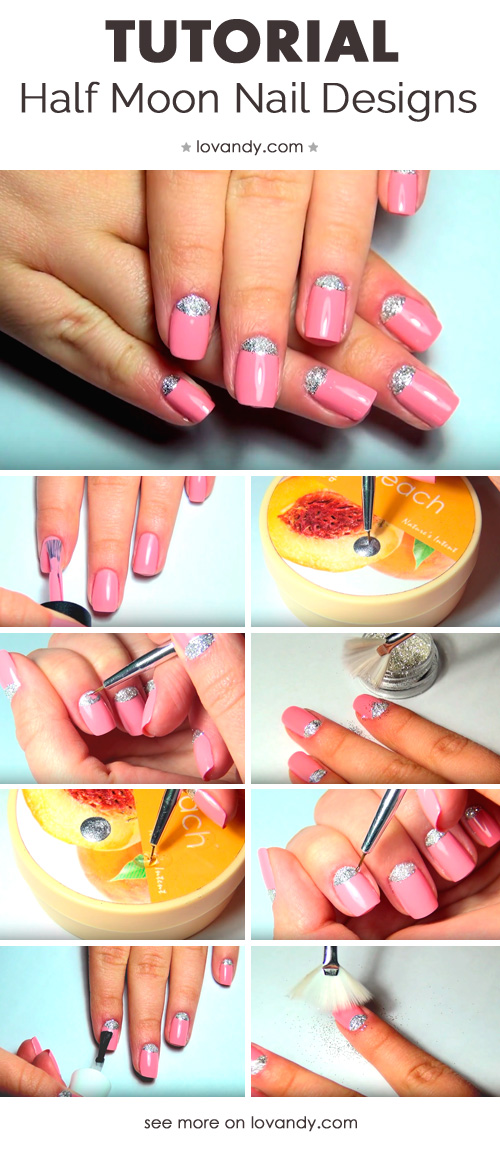
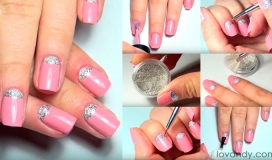
Half-moon manicure is a significantly popular one. Its popularity is caused by the natural look of our nails. So, today we will learn how to make half moon nails.
First of all, does not matter what you are going to do, check if you have all the materials needed. Same thing here.
You will need:
- Glossy or matte pink nail polish;
- Silver nail polish;
- Tiny paint brush;
- Silver glitter;
- Brush for cleaning;
- Transparent nail polish;
- Glue, acetone and some cotton swabs for correction.
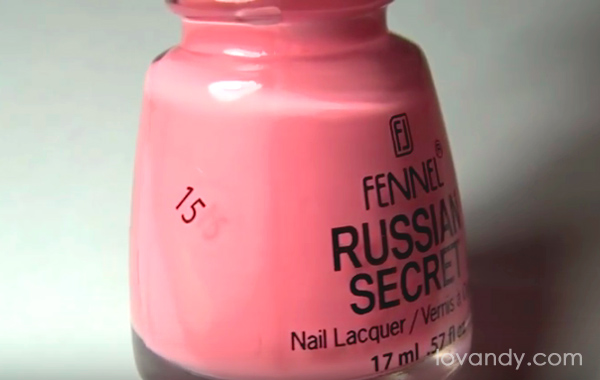
Let us begin the hard but pleasant work of making pink and silver nail designs. Speaking about colors, you may use your imagination and pick any color you like. However, the original is pink, which we are going to use.
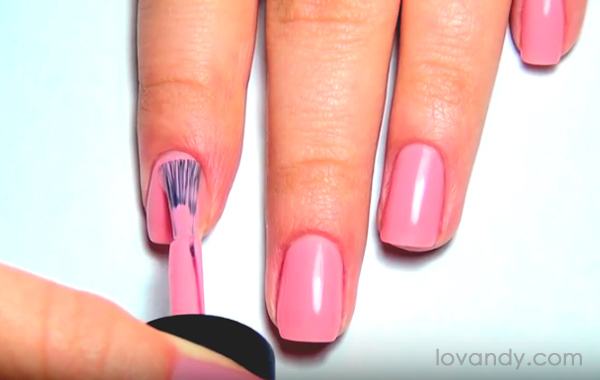
Paint all of your nails with pink polish – nothing new or hard here.
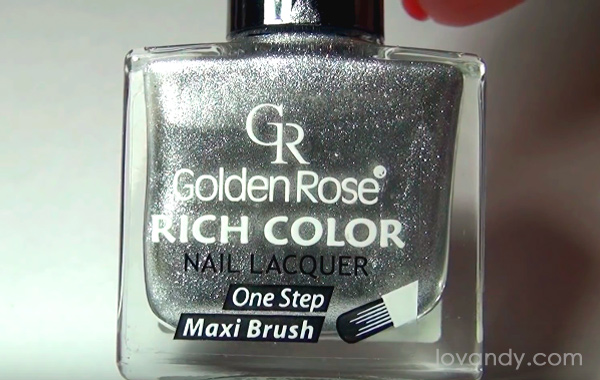
Now let us take the silver one. As you see, it is required to use a glittering polish. For our nail art pink and silver colors fit best.
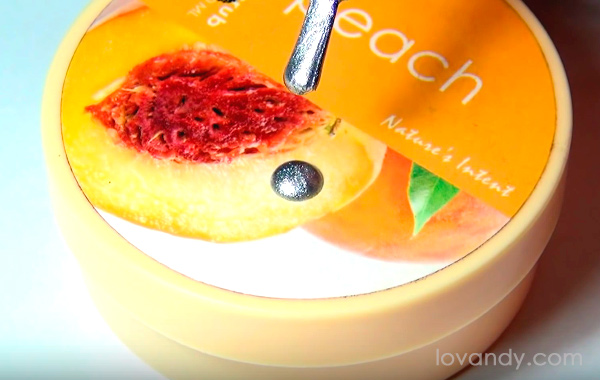
Using the original brush, drip a drop on some flat surface. Do not drip too many polish, because we need to be precise here. In addition, it will spread over the surface and dry very fast.
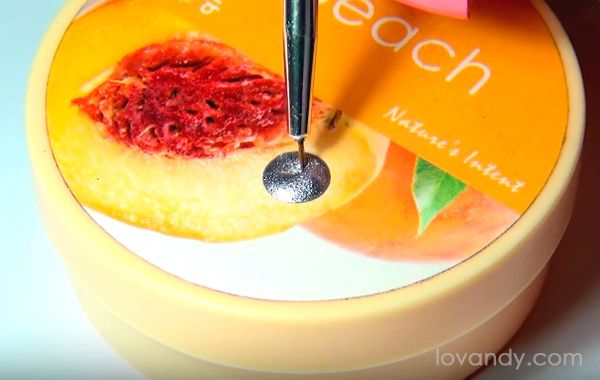
Now you will need that tiny brush. Use it to pick some polish from the drop. Do not hurry: it is better to take some more time than to screw up all the work of light pink and silver nail designs.
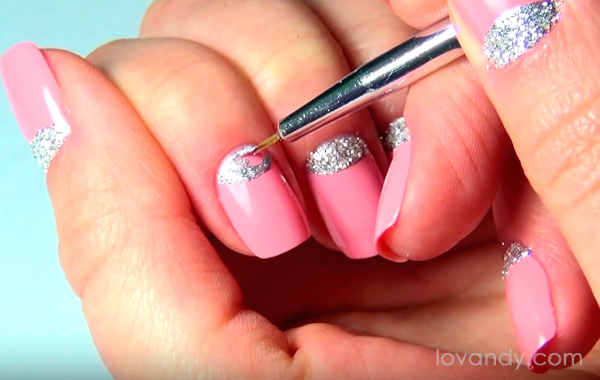
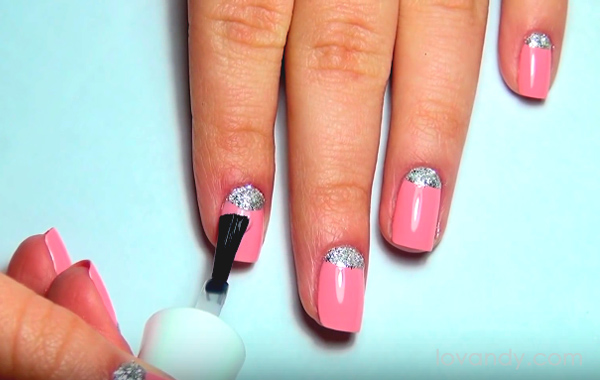
Using this brush, paint the half-moon with silver polish. Notice that you may also try another shapes and figures. All the borders are your imagination, as always.
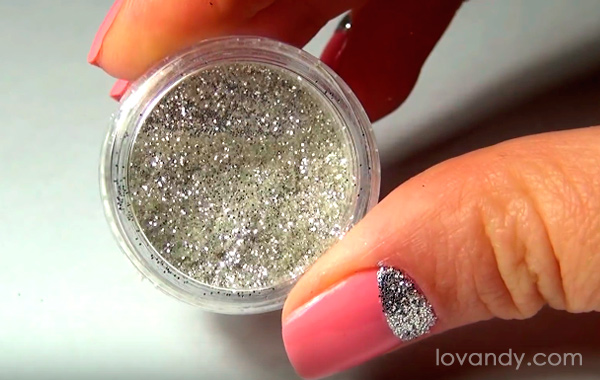
The next step will be to cover the half-moon, which you have just painted, with glitter. This may be one of the hardest parts of how to make half moon nail design.
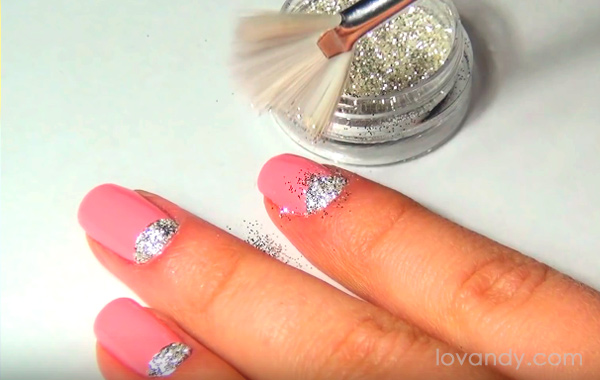
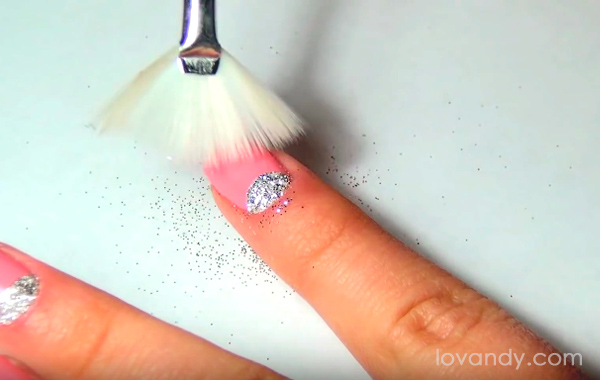
Take the big brush and put it in the box of glitter. It is better to put one corner of it. Now slightly shake it over the nail so that the glitter falls off. To achieve the best result, we advise you to use a bit more glitter than it may be needed. This way you will ensure that all the half-moon is covered. Now you know how to do half moon nail design. Let us finish with some easy steps that are left.
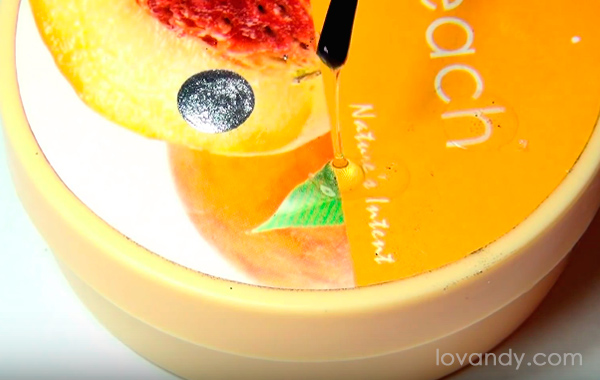
Spread some glue on the flat surface. It does not matter what amount will drop.
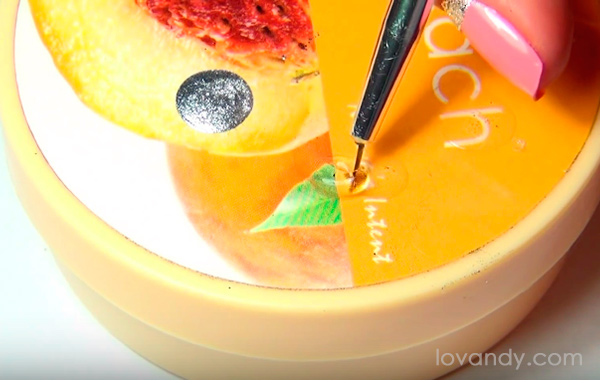
Now take the tiny brush (make sure it is cleaned after previous steps of how to do half moon nail) and put it in the glue drop to take as much as you can.
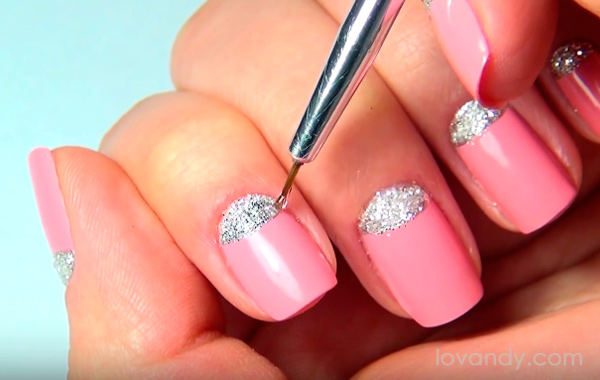
Carefully cover the half-moon with glue. Do not use too much glue, but make sure you have covered all the glitter.
Take the transparent nail polish and cover the entire nail with it after the glue has dried to finish our how to half moon nail design course.
Do not hesitate to use the brush whenever you need it. It is good to use it on every nail, as glue and transparent polish are dry.
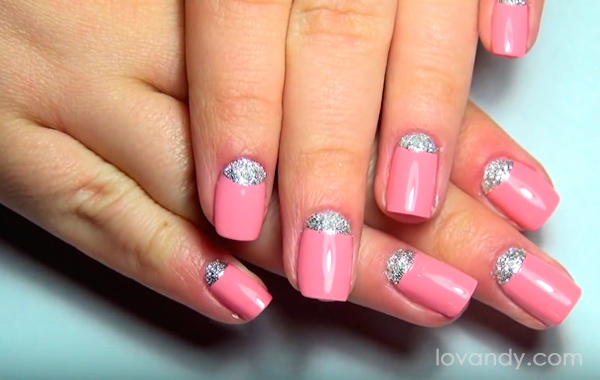
Therefore, that is it. You have your nails painted in very interesting and beautiful way. Moreover, now you know how to do half moon nail art. As you have seen, it is really easy, but outstanding.
Half-moon manicure is somewhat popular and well known. However, it does not mean that you will look ordinary with it. Conversely, such way to paint your nails is always different and unique. Also, if you use some other colors and shapes, you may achieve a brand new result. If so, tell us about it – we are always interested.
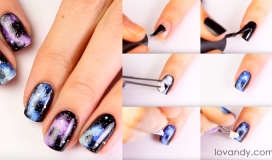
Moon Nail Art Design Tutorial For Beginners