Chocolate is a thing everybody likes. Its taste is something unsurpassed. That is why we always like the look of chocolate bar. Then why not to make a chocolate nails art?
There are not much things you will need for this manicure. Just some basics. However, it may be hard to choose a nice color scheme. Therefore, we recommend using nail polishes from the same brand.
Here is the checklist itself:
- Base nail coat;
- Base brown color nail polish;
- Dark coffee color polish (you may use an acrylic paint instead);
- Light brown polish (or an acrylic paint);
- Thin nail brush for small details;
- Top coat (use matte or glossy one).

This is what we need. As you see, we have used a glossy coat. However, do not hesitate trying a matte one, as it also looks interesting and, to some extent, more natural.

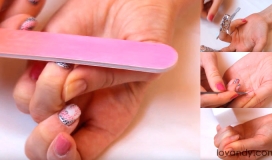
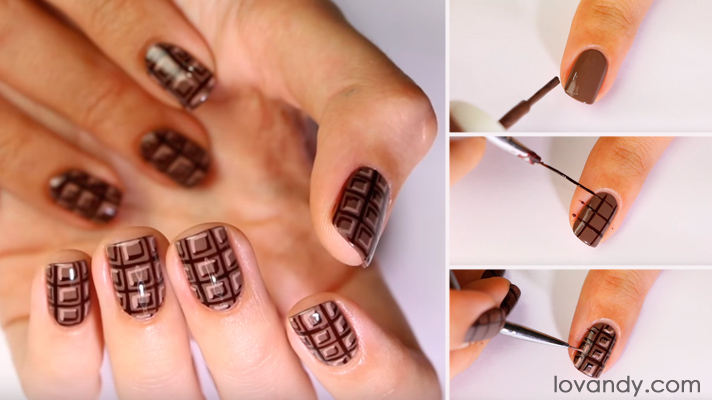
Firstly, apply a base nail coat. Start from painting a nail surface completely. Then slightly move the brush to nail tip and paint it. This way your future chocolate manicure will stay longer.

Now paint your nail with a base brown color. Do not forget to also paint nail tip, as we have done it with a coat.

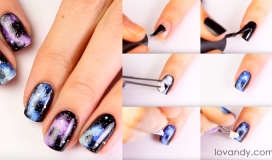
Then paint parallel lines with a dark coffee polish (or acrylic paint). Do it using a thin brush with long fluff. The technique of drawing such small details is not as hard as it seems. Try practicing on paper before doing manicure. In addition, if you find any difficulties, check out our Christmas plaid nails tutorial, which may help you.

Paint more lines perpendicularly. If there is any excess polish on your skin, you can easily get rid of it by using a thin brush, soaked in acetone.

Now, as our chocolate bar is painted, let us make it volumetric. Use the same color to draw these corners. You should be very neat on this step. Do not use too much polish.

Now we paint opposite corners with a light brown polish (or paint). This way we create some kind of cubes. There is a really nice play of light and shadow. Actually, the basic figure of chocolate nail design is now ready.

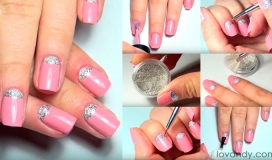
At last, finish the manicure by covering your nails with a top coat. As we have mentioned above, use matte or glossy one, as you like.

The whole picture does look volumetric and natural. Try experimenting with shapes to make it fit your style.

Needless to say, this easy nail design may fit almost any situation and/or attire. As chocolate is the most enjoyable and beloved sweet.
This small DIY tutorial is both easy and fast. You can use this knowledge to make a manicure in about ten minutes. It will not take a lot of time and equipment, while your nails will look magnificent and ‘tasty’. Combine it with other techniques and manicures from our site to make an outstanding combination, and do not forget to tell us about your ideas.
Sweet And Easy Chocolate Brown Nail Art Step By Step

source of pictures: youtube.com